3 simples DIY projects to do at home
The new confinement is a new challenge for citizens. Teleworking combined with the reality of the remote school for many families, as well as the extra time we spend at home, make it important to try new projects that enhance creativity. Our home is the ideal stage to embark on these projects.
Today, we suggest three projects that you can easily do yourself at home by yourself or with your family.
Homemade candles
For this project you will need:
– Cups or glasses you do not use;
– Candle wax (you can use remnants of old candles);
– Wicks for candles;
– Wax pencils (optional);
– Essential oil.
Step 1:
Melt the candle wax in a saucepan over low heat. If you are going to use remnants of candles, also place the wax in the same container.
Step 2:
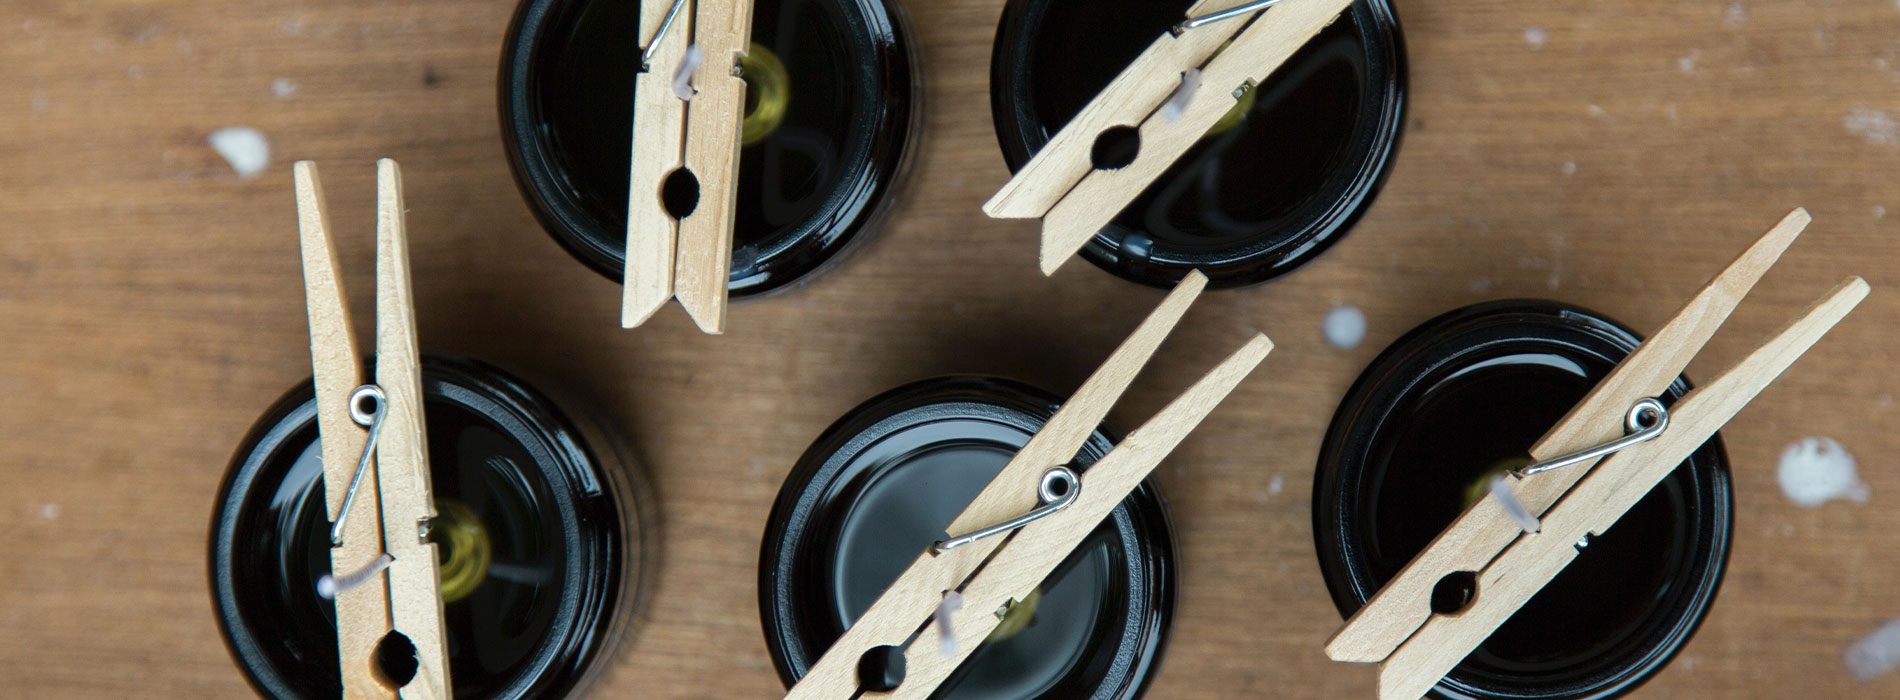
With a little hot glue, stick the wick to the bottom of the cup or glass.
Step 3:
After the wax is completely melted, you can add a piece of crayon of the colour you prefer to add colour to your candle.
Step 4:
Remove the pan from the stove and add the essential oil you prefer to add aroma to your candle. Allow cooling.
Step 5:
Pour the wax into the cup and let it cool completely until the wax is hard.
Wooden Armrest for Sofa
For this project you will need:
– Clamps of at least 20 cm;
– Measuring tape;
– Pencil;
– Wooden board cut into three equal pieces;
– Wood glue;
– Sandpaper of 150 or 180 grain;
– Varnish for wood;.
Step 1:
Measure the height and width of the armrest of your sofa with a tape measure and cut the pieces of wood according to these measures. Don’t forget to point out which side and top parts are.
Step 2:
Apply the wood glue on the thinner sides of each sideboard and glue it to the top board. Use the clamps to keep the boards in place and let them dry.
Step 3:
Once the glue has dried, use the sandpaper to sand the boards.
Step 4:
Coat the wood with one or two layers of varnish and let it dry.
Cork Vase for Small Succulent Plants
For this project you will need:
– Cork stoppers;
– Small succulent plants;
– Knife;
– Hot glue;
– Small magnets;
– Earth;
– Paint and a brush (optional).
Step 1:
With the knife cut a hole in the cork stoppers.
Step 2:
Paint the cork stoppers as desired with the brush and paint.
Step 3:
Glue the magnets to the corks with hot glue.
Step 4:
Place the soil and succulents inside the cork. Then you can put the small succulents in your fridge.
